
We are familiar with a lack of storage space when upgrading VPX instances. However, this is not typical when upgrading an SDX. Especially if the message says that there is too much space available 😉
"Reason: Available disk space in SVM is 39 GB. Minimum disk space of 4GB ist required for SDX upgrade"

The message initially raises more questions than it helps. Let us therefore take a closer look at the general conditions.
In our own experience, the error occurs on around 75% of all NetScaler SDX 89xx appliances. In the screenshot it is an 8930, but the problem has also been seen on their 8900 SDX appliances. On the other hand, upgrading from 14000, 15000 and 16000 SDX has not yet caused any problems, but would be conceivable with any hardware.
The update from 13.0 to the current 13.1 build still works. However, the update from 13.1 to the current 14.1 build shows the same behaviour.
The cause is the Perl version used on the SDX and the upgrade script upgradebundle.pl. More precisely, it is an error in the interpreter during comparison operations in the script at the following point:

The interpreter processes the EQ (equal) operator correctly. With GE (greater equal), however, an error occurs.
The solution is simple: open the file upgradebundle.pl and search for the following line:
Change the red marking and save the file.
But now we come to two topics:
- How do we get the file we need?
- How do we replace the file?
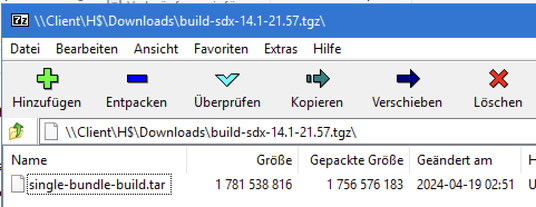
Firstly, we need to extract the file from the SDX upgrade bundle. To do this, the TGZ can be unpacked first. It contains a TAR, which is then unpacked to finally obtain the desired file upgradebundle.pl.
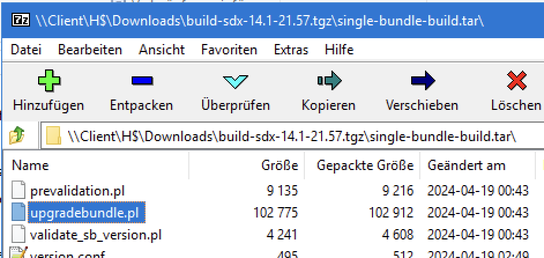
Then edit and save the upgradebundle.pl file 👍
However, the file in the TGZ cannot simply be replaced afterwards, as the SDX file check recognizes the change and cancels the upgrade.
The file must therefore be replaced directly at the time of the upgrade. This requires good timing during the upgrade!
The upgrade process creates the required folder structure itself during the upgrade. Manually creating the folders and storing the file therefore does not work.
A feasible way:
- Log on to the SDX with an SCP client
- Keep the prepared file upgradebundle.pl to hand
- Start the installation
- Check via SCP whether the folder /var/mps/cb_sb_images/sb_details has been created
- As soon as the folder exists, copy the file upgradebundle.pl into it and overwrite it

The folder will be moved/renamed by the upgrade a short time later. If the timing is right, the customized script is started and the upgrade continues...

From here on, the upgrade behaves as usual.
Don't despair when upgrading. After several attempts, you have found the right timing 😉
Kommentar schreiben
Stephane (Mittwoch, 01 Januar 2025 20:17)
Hi and thank you for this peace of information !
I’ve been trying to figure out how to update a sdx with the latest firmware since they blocked olser devices… i’m almost done your article put me on the right path